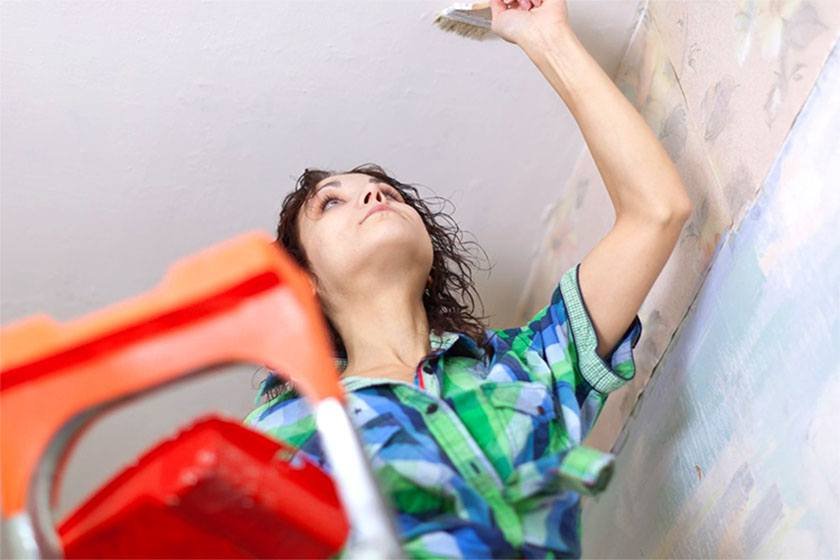
Painting a ceiling can be a challenging endeavor, particularly when searching for the best way to paint a ceiling and achieve a flawless finish without any streaks.
Whether you are refreshing a room or undertaking a renovation, having the right tools and techniques is crucial for achieving a professional appearance.
This guide outlines the essential materials, preparation steps, and tips to help you attain a smooth, streak-free ceiling. Prepare to enhance your painting skills and transform your space efficiently.
What Tools and Materials Do You Need for Painting a Ceiling Without Streaks?
When undertaking a DIY project to paint a ceiling without leaving streaks, it is essential to gather the appropriate tools and materials for the task. Adequate planning and preparation will enhance your painting technique and contribute to an even finish, free from imperfections.
You will require essentials such as:
- roller;
- brush;
- ladder;
- paint tray;
- painter’s tape;
- reliable drop cloth to safeguard your workspace.
Additionally, selecting high-quality paint and cleaning tools will further ensure a smooth application process and an aesthetically pleasing result.
1. Paint Roller
A paint roller is an essential tool for achieving a quick and even application of paint on your ceiling, effectively minimizing the risk of streaks in the finish. Selecting the appropriate paint roller covers is essential, as they can significantly influence coat thickness and the overall texture of the paint application.
There are various types of paint rollers available, each designed for specific tasks. For ceilings, a nap roller with a thick pile is often preferred, as it holds more paint and allows for smooth coverage over textured surfaces. Using a foam roller is one of the best ways to paint a ceiling, as it helps achieve a smooth, even finish on flat surfaces, ensuring a uniform layer with minimal paint absorption.
Understanding the application technique is also crucial – rolling in a consistent pattern ensures even distribution and helps prevent drips. Ultimately, the right choice of roller can greatly enhance the quality of the final appearance when painting ceilings.
2. Extension Pole
An extension pole is an essential accessory when painting high ceilings, allowing you to reach hard-to-access areas without the risk associated with ladder use. This tool enhances efficiency by enabling you to cover more surface area with less effort.
Along with improving productivity, it significantly enhances ladder safety by minimizing the need for multiple climbs, which can be especially hazardous in elevated spaces.
By utilizing an extension pole, you can maintain a secure footing on the ground while comfortably managing your tools, alleviating concerns about losing balance at significant heights.
This approach not only streamlines the painting process but also reduces the potential for injuries, making it a prudent choice for both professionals and DIY enthusiasts.
3. Paint Tray
 A paint tray is an essential tool for efficiently managing your paint application process, providing a convenient area to load your roller or brush with paint, which is particularly useful when you’re looking for the best way to paint a ceiling.
By utilizing a clean paint tray, you can maintain an organized workspace and facilitate easy clean-up.
Choosing the right size of paint tray is vital – a larger tray may be suitable for expansive areas, while a smaller one can assist with tight corners and detailed work. The design of these trays often features a textured surface that allows for even distribution of paint, enhancing application and minimizing waste.
Incorporating effective cleaning tools, such as brushes or sponges, alongside your paint tray can streamline the post-painting clean-up process. This ensures that spills and drips are managed swiftly, leaving your workspace pristine and ready for the next project.
4. Drop Cloth
A drop cloth is essential for protecting your floors and furniture from paint spills and splatters during the ceiling painting process. Utilizing a high-quality drop cloth can help prevent moisture control issues, thereby ensuring a safer workspace.
It acts as a protective barrier between materials and surfaces, minimizing the risk of accidents and enhancing overall safety in your work environment.
There are various types of drop cloths available, including canvas, plastic, and paper, each catering to different needs and preferences. This allows you to select the most appropriate option for your specific project.
For example, canvas drop cloths provide durability and absorbency, while plastic versions are lightweight and waterproof.
By investing in the right drop cloth, you not only protect your immediate surroundings but also demonstrate a commitment to workspace safety. This makes it an essential tool for any painting endeavor.
5. Painter’s Tape
Using painter’s tape is essential for achieving clean lines and preventing paint from bleeding onto adjacent surfaces during your ceiling project. Proper application of painter’s tape during edge work ensures a professional-looking paint finish.
When applying painter’s tape, it is crucial to ensure thorough surface preparation. This involves cleaning the area where the tape will adhere, as any dirt or grease can compromise the seal.
To maximize your results, press down firmly on the tape, particularly along the edges, to prevent paint from seeping underneath. After completing the painting, the best way to paint a ceiling is to allow the paint to dry for the recommended time before carefully removing the tape.
To achieve the sharpest edge, peel the tape off slowly at a 45-degree angle. By following these guidelines, you can achieve exceptional finishes that truly showcase your craftsmanship.
6. Primer
Using a quality primer is essential for preparing your ceiling surface, as it ensures better paint adhesion and a more even finish. A well-chosen primer can significantly enhance both the quality and durability of the paint on your ceiling.
This crucial step not only fills in small imperfections but also provides a uniform base that helps eliminate issues like peeling or uneven color application. By acting as a protective barrier, primer prevents stains from bleeding through, thereby maintaining the aesthetic appeal over time.
It also allows for a more vibrant color payoff, as the paint adheres more effectively to the primed surface. As a result, those who apply primer can expect a longer-lasting, more professional-looking finish that ultimately reduces maintenance costs in the long run.
7. Paint
Selecting the right paint for your ceiling is crucial, as it determines not only the color but also the overall finish quality and durability. Different paint sheens can significantly impact aesthetics, making it essential to choose wisely based on the size and lighting of your room.
As you explore your options, you will likely find yourself weighing the merits of latex versus oil-based paint. Latex paint is well-regarded for its ease of use and quick drying time. For those looking for the best way to paint a ceiling, this option typically offers a wide range of vibrant colors and is an excellent choice for those seeking a low-odor alternative.
In contrast, oil-based paints provide a rich, smooth finish that is often preferred for areas requiring enhanced durability, especially in spaces that experience wear and tear. Each type of paint affects the final outcome significantly, influencing not only the appearance but also the longevity of your ceiling’s paint job.
How Do You Prepare the Ceiling for Painting?
Preparing your ceiling prior to painting is a crucial step that can greatly impact the outcome of your project.
Effective preparation involves cleaning the surface to eliminate dust and dirt, repairing any surface imperfections, and applying an appropriate primer for enhanced adhesion.
By following these steps, you can ensure that your painting techniques result in a beautiful and durable finish.
1. Clean the Ceiling
Begin by thoroughly cleaning the ceiling with appropriate tools to remove any dust and debris that may interfere with paint adhesion. This step is crucial for ensuring that the surface is properly prepared and free from moisture, which allows for a smooth paint application.
Utilizing a vacuum with a soft brush attachment effectively eliminates fine particles, while a damp microfiber cloth can help capture any lingering dust. Maintaining balanced moisture levels is crucial during the process, as excessive moisture can cause problems like mold growth or peeling paint, which can affect the best way to paint a ceiling in the future.
For optimal results, consider using a mild detergent solution. This can assist in breaking down grime while remaining gentle on surfaces. By prioritizing thorough preparation, you set the stage for a long-lasting finish that enhances the overall aesthetic of the room.
2. Repair Any Damaged Areas
Repairing any damaged areas on the ceiling is essential for achieving a flawless finish, as surface defects can lead to unsatisfactory results in your painting project. This process may involve patching holes or cracks to ensure a smooth and even surface.
To begin, gather the necessary materials, including drywall compound, a putty knife, sandpaper, and primer. Start by cleaning the damaged area thoroughly to eliminate dust and debris, which is vital for proper surface preparation. Next, apply the compound over the cracks or holes, using the putty knife to ensure it effectively fills the gaps.
Once dried, sand the area until it is level with the surrounding surface. Finally, to ensure optimal finish quality, do not skip the priming step, as this will provide a uniform base for your final coat of paint, ultimately contributing to a seamless appearance.
3. Prime the Ceiling
Applying a primer to the ceiling is a crucial step in the preparation process. It enhances paint adhesion and ensures an even finish. A quality primer can significantly improve the overall paint quality, making it essential for the success of your painting project.
There are various types of primers available, tailored to different surfaces and project requirements. For example, oil-based primers are effective on stains and wood, while latex primers are ideal for drywall and new plaster, providing a solid seal for better paint application.
Specialized primers can also tackle specific issues, such as mildew, ensuring a long-lasting outcome. By selecting the appropriate primer, you can achieve a flawless finish that not only adheres better but also enhances the vibrancy of topcoats, resulting in a professional appearance that endures over time.
What Is the Best Technique for Painting a Ceiling Without Streaks?
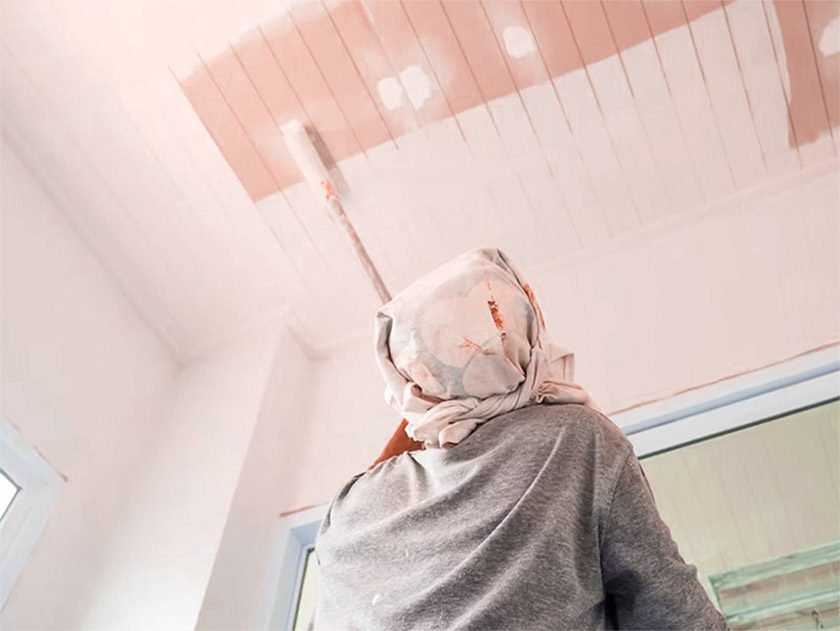 To achieve a streak-free ceiling, it’s essential to employ the best way to paint a ceiling by using effective techniques. Utilizing the right application method ensures that the paint is applied evenly, helping you avoid common pitfalls such as streaks or excess paint buildup.
This involves understanding the appropriate coat thickness and using tools effectively to achieve a professional finish.
1. Use a W Pattern
Utilizing a W pattern while rolling on paint is an effective technique that aids in distributing paint evenly, minimizing streaks and ensuring a uniform coat. This method enhances paint coverage and reduces the likelihood of leaving unpainted spots.
By applying this technique, you can significantly improve the quality of your finished surfaces. The key to executing the W pattern effectively is to maintain a consistent rolling speed and pressure.
Begin by loading the roller with the appropriate amount of paint, taking care not to overload it to prevent drips. As the roller glides across the surface, use long, overlapping strokes to create the characteristic W shape, rolling outwards from the center of each section.
This approach not only helps blend each section seamlessly but also ensures even paint distribution, making the process both efficient and satisfying.
2. Roll in One Direction
When applying paint, rolling in one direction can significantly reduce the chances of streaks and create a smoother finish. This technique facilitates even distribution of paint and minimizes the risk of overlapping strokes.
Many painters often overlook the importance of consistency in their rolling direction, yet this practice can profoundly impact the final appearance of the surface.
By maintaining a steady motion, you can achieve a streak-free result that enhances the overall quality of the paint application. This method helps prevent visible lines or uneven patches, ensuring that the coat settles evenly and adheres properly.
A meticulous approach to rolling not only improves aesthetics but also extends the life of the painted surface, making it a critical aspect of any painting project.
3. Avoid Overlapping Strokes
Avoiding overlapping strokes is essential for achieving a professional-looking finish when painting a ceiling. Overlapping can lead to noticeable lines and uneven paint coverage, which detracts from the overall quality of your work.
To achieve the best results, the best way to paint a ceiling is to work in small sections while ensuring you maintain a wet edge for a smooth, flawless finish. This method not only promotes smoother application but also minimizes the risk of visible lap marks.
Using the right tools, such as high-quality rollers and brushes designed specifically for ceilings, can significantly improve even paint distribution. Additionally, ensuring adequate lighting will help you identify areas that need touch-ups, maintaining a flawless and visually appealing finish across the entire surface.
How Do You Avoid Drips and Splatters?
To achieve a clean and professional ceiling painting job, it is essential to avoid drips and splatters during the application process.
By employing effective work methods and using high-quality paints, you can minimize the risk of mess while ensuring a smooth finish.
1. Use the Right Amount of Paint
Using the right amount of paint is essential to prevent drips and splatters during your ceiling project. Applying too much paint at once can result in undesirable outcomes, such as uneven coat thickness and an excessive mess.
To determine the appropriate amount, start by loading your roller with a moderate amount of paint. Roll it back and forth on the tray’s textured side to evenly distribute the paint. This technique helps avoid over-saturation, which can lead to drips.
As you begin applying the paint to the ceiling, maintain consistent pressure on the roller to ensure it releases just enough paint for a smooth application.
Monitor the surface closely – if you notice areas that appear too thin, a light re-application will help you achieve a perfect finish without creating unsightly splatters.
2. Roll Slowly and Carefully
Rolling slowly and carefully can significantly reduce the chances of drips and splatters when painting a ceiling. This mindful approach allows for better control over the paint application, contributing to a cleaner finish.
By employing a slow and measured rolling technique, you not only minimize mess but also enhance the overall adhesion of the paint to the surface. This deliberate pace enables a more even layer, ensuring that the paint is distributed uniformly and reducing the likelihood of uneven textures or patches.
Using this application technique allows you to gauge how much paint is being applied, further preventing the build-up that often leads to drips. The best way to paint a ceiling not only fosters a smoother aesthetic but also enhances the paint’s durability, making it an excellent choice for both novice and experienced decorators.
3. Use a Drop Cloth
Utilizing a drop cloth is an effective strategy for managing potential paint spills, drips, and splatters, ensuring that your workspace remains clean throughout the project. A quality drop cloth protects your flooring and furniture from damage.
Along with safeguarding surfaces, a drop cloth provides peace of mind, allowing you to focus solely on the task at hand without the distraction of worrying about potential messes. It acts as a barrier against not only paint but also dust and debris, contributing to an overall organized environment.
Choosing the right material, whether canvas or plastic, enhances its protective qualities, making it an essential tool for any painting endeavor. By prioritizing the use of a drop cloth, you can maintain a tidy workspace, streamline your painting process, and achieve better results.
What Are Some Tips for a Professional-Looking Finish?
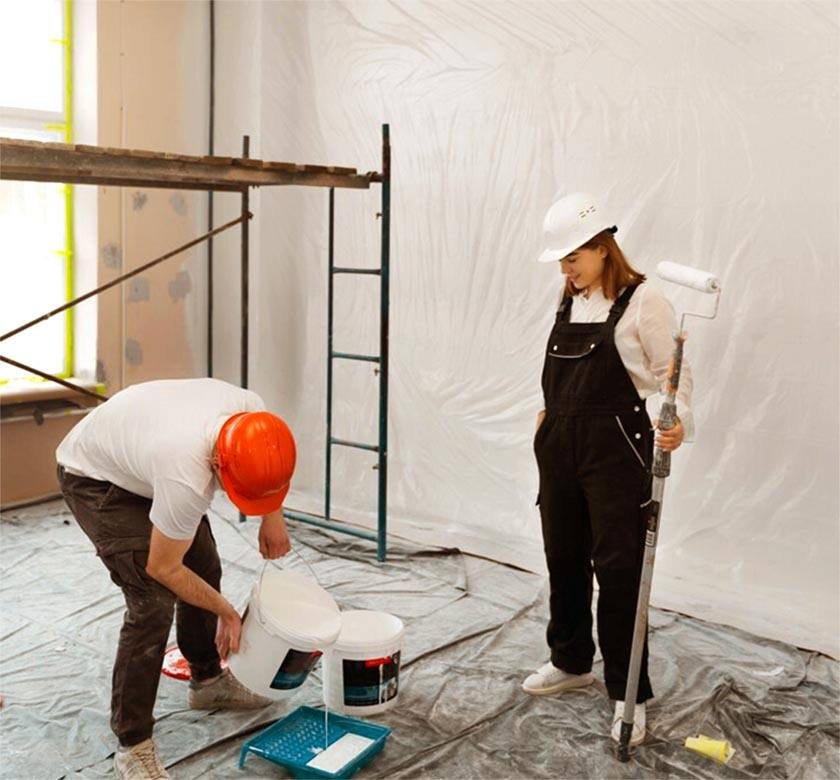 Achieving a professional-looking finish when painting a ceiling requires several key techniques and considerations, including selecting the appropriate paint quality and mastering various painting methods.
By incorporating these tips into your DIY project, you can enhance your craftsmanship and elevate the aesthetics of your space.
1. Use High-Quality Paint and Tools
Investing in high-quality paint and tools is one of the most effective strategies to achieve a durable and aesthetically pleasing ceiling finish. Quality products not only enhance the visual appeal but also extend the lifespan of your paint job.
This consideration is particularly important when evaluating factors such as finish durability and craftsmanship. Utilizing premium paints that offer superior coverage and resistance to fading can significantly improve the longevity of any project.
Investing in high-grade brushes and rollers is the best way to paint a ceiling, as it facilitates a smoother application process and minimizes the risk of streaks or uneven finishes.
Brands such as Purdy and Wooster are highly recommended for their ability to hold paint and provide excellent coverage. Remember, the right combination of quality materials can elevate craftsmanship, resulting in a beautiful ceiling that endures over time.
2. Paint in Natural Light
Painting in natural light can significantly enhance the aesthetics of your ceiling, as it allows you to see the true colors and quality of the paint. This visibility aids in making informed color choices and identifying areas that may require additional attention.
A workspace illuminated by daylight enhances focus, providing you with a clear view of each stroke and hue, ensuring that every detail aligns with your vision. Natural light not only reveals the subtleties of color but also influences how different finishes appear – glossy surfaces may reflect more light, while matte finishes can absorb it, resulting in varied effects.
Ultimately, when you work in a well-lit environment, you are more likely to be satisfied with your choices. Natural illumination brings vibrancy to your palette, allowing for a harmonious blend of color that elevates the overall ambiance of your space.
3. Take Breaks and Step Back to Check for Streaks
Taking breaks and stepping back to evaluate your work is crucial for achieving a high-quality finish. Regularly assessing your progress allows you to identify and address any imperfections before they become more pronounced.
This approach not only helps in catching issues early but also aids in refining your overall painting techniques. Experts recommend using natural light when examining the surface, as it can reveal imperfections that indoor lighting may obscure. Additionally, employing a flat, straight edge can be beneficial in tracking streaks and uneven areas.
By actively engaging in this self-assessment process, you can enhance your skills and ensure that the quality of your finish meets your expectations, resulting in the best way to paint a ceiling and achieve a more polished and professional outcome. Check the FAQ section at the bottom for more information.